With Space Tour, you can build a virtual tour directly in your browser: upload panoramas, connect rooms with transitions, and publish the result. You do not need to program a viewer. The main work is preparing the images and making the route clear to visitors.
Prepare your panoramas
A tour needs equirectangular 360 images with a 2:1 aspect ratio. You can use images from a 360 camera, stitched photographs, or panoramic 3D renders. If you do not have source images yet, see where to get panoramas for a virtual tour.
Before uploading, check the horizon, stitching quality, and absence of personal documents or other information that should not be shown. Name scenes after the spaces: Entrance, Living Room, Bedroom. This makes the route easier to build and review.
Upload scenes and connect rooms
Create a project in Space Tour and add the prepared panoramas. Choose an opening scene and viewing direction that help visitors understand where they are and where to go next.
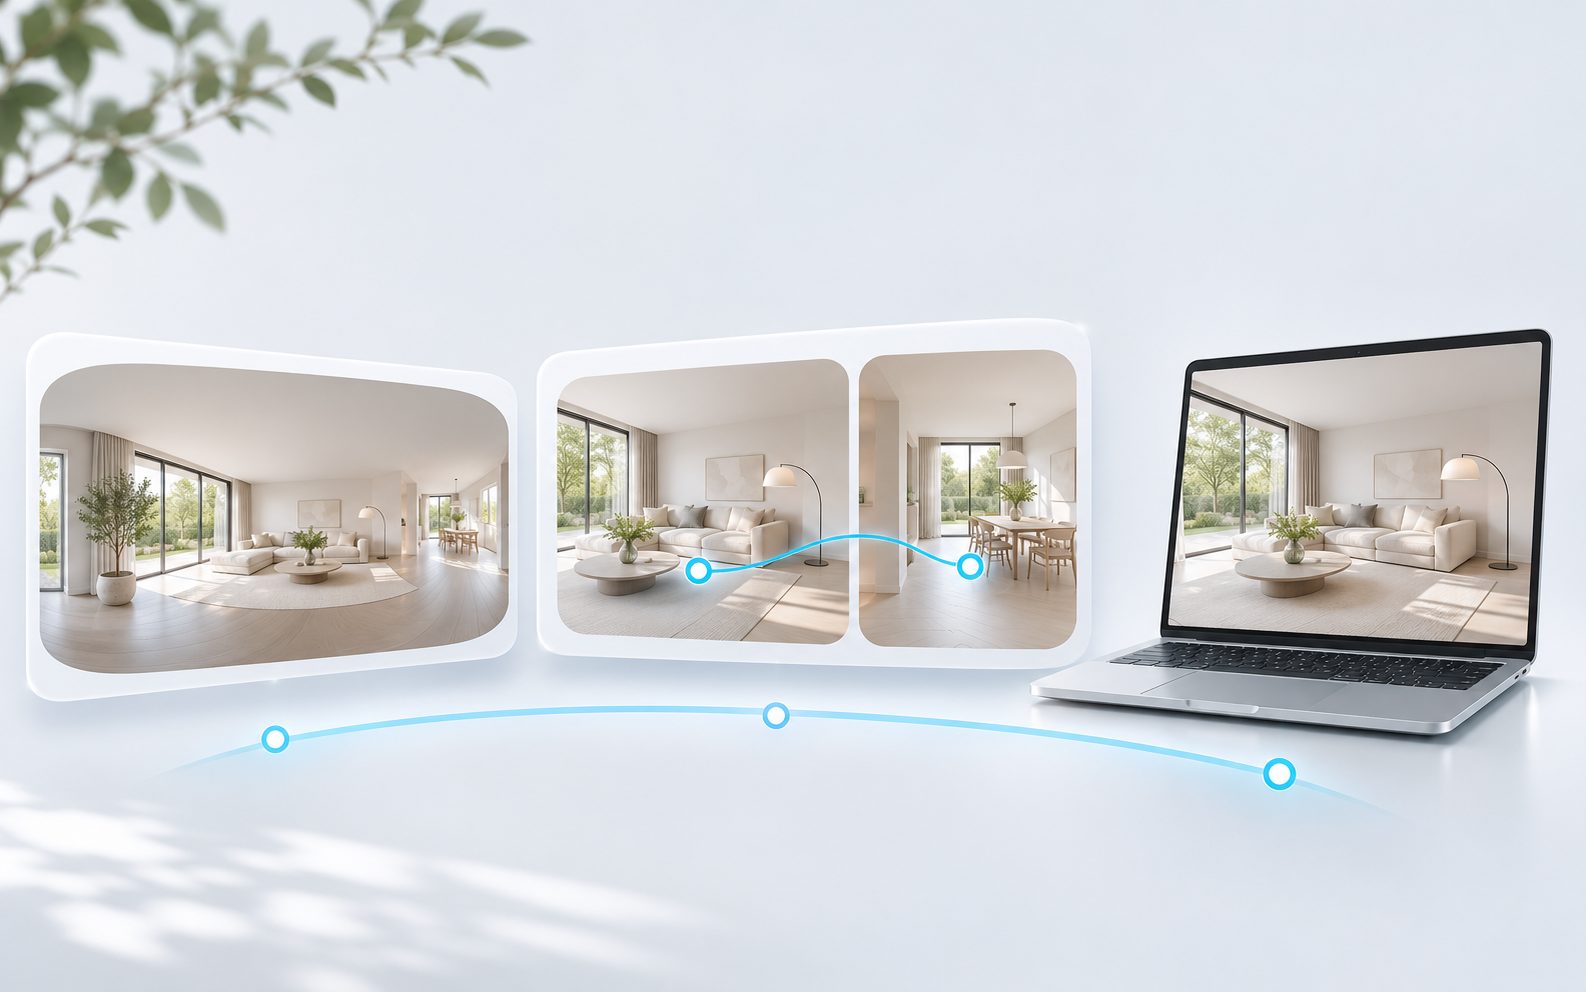
Place navigation markers near doors and passageways. For example, the entrance can lead to the living room and hallway, and the hallway can lead to the bedrooms. Add reverse connections so visitors can return. Detailed setup is covered in the navigation guide.
Information hotspots should be distinct from navigation markers. A short label can explain what a marker does; longer descriptions are better opened on demand rather than permanently covering the panorama.
Set up the presentation
Once the route is ready, add the presentation elements your project needs. Keep naming consistent and check that markers are visible against both light and dark areas of the panoramas.
Individual features depend on your plan. You can explore the editor in the Space Tour demo, but that does not mean every feature is included in Free.
Publish and test the tour
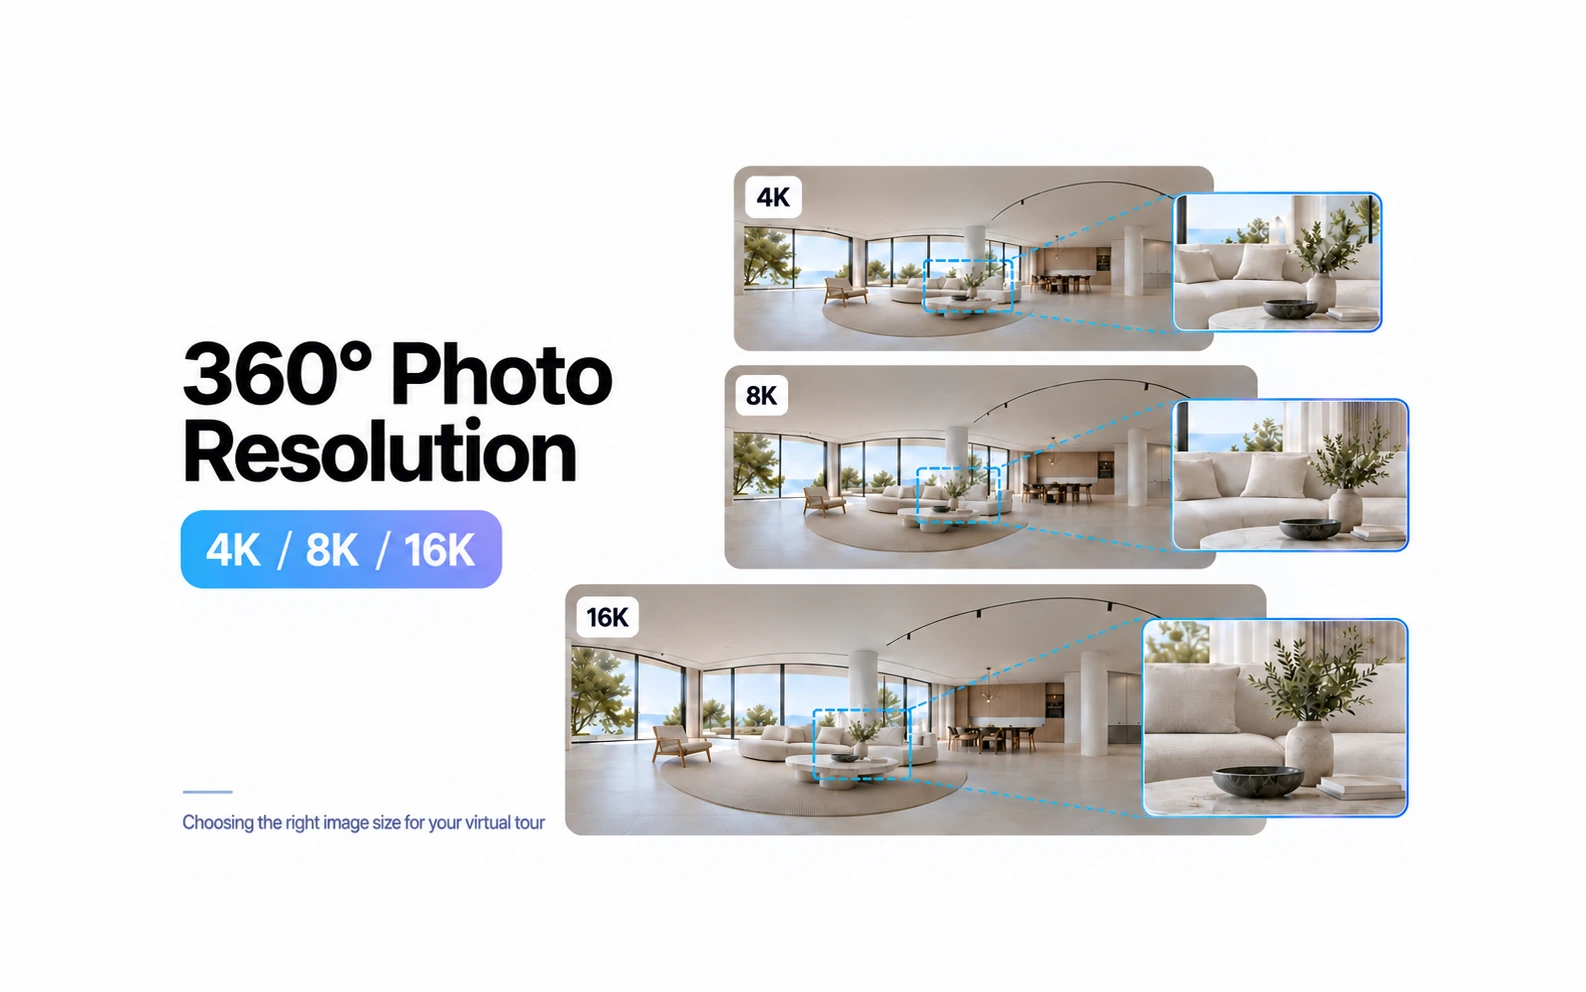
Choose a publishing resolution suitable for your source images and plan. When publication is complete, open the tour separately from the editor and follow the whole route on a phone and computer. Check transitions, labels, information panels, and contact links.
You can share the tour by link or embed it on a website with an iframe. Hosting it yourself requires file export and access to your hosting. These are different delivery methods; the publishing guide explains them. Always test an embedded tour on the actual website page.
What to keep in mind
The editor connects the panoramas you provide; it does not create missing parts of a room or a precise measured model. Capturing and processing images may require separate tools. A few connected scenes are enough for a first project: test the route and publication first, then add presentation features.